- +1 (819) 857-1588
- info@drummondvinyl.com
- Drummondville, Quebec, Canada
© 2026 All Rights Reserved.
Fill out the form on our website and we will get in touch to oversee your project together and make sure to answer all your questions.
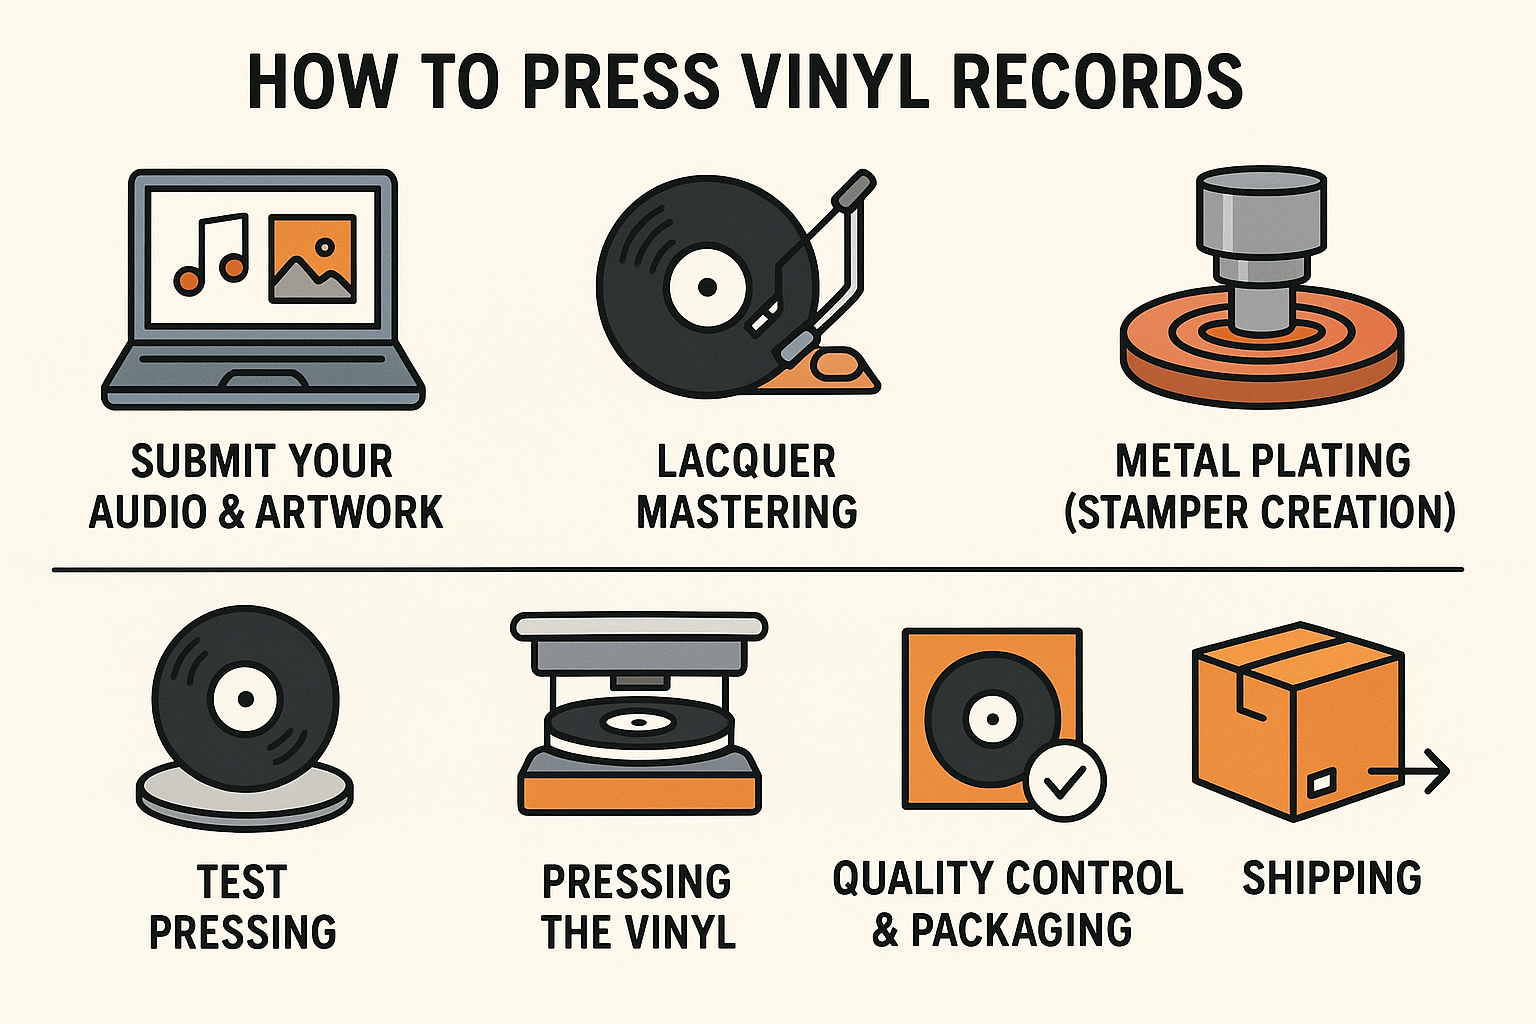
Send us your audio files and your artwork for your packaging and labels using our templates.
We will send you the templates needed to prepare the project, as well as the instructions and recommendations to follow.
Graphics (submit via Google Drive, WeTransfer, Dropbox, etc) :
*IMPORTANT: Incorrect application of graphic guidelines or re-adjustment of files once officially submitted may result in additional charges. Please follow the instructions carefully and do not hesitate to contact us if you have any questions.
Audio (submit via Google Drive, WeTransfer, Dropbox, etc) :
How much music can you fit on one record? Here is a guideline:
12″ LP (33 1/3 RPM)
OPTIMAL: 13 / 15 minutes per side
MAXIMUM: 23 minutes per side
12″ Single or EP (45 RPM)
OPTIMAL: 10 minutes per side
MAXIMUM: 15 minutes per side
Your music will be cut on a lacquer, then sent to an electroplating facility where your stampers will be created. This will become the mold from which your record will be pressed. Once they are ready, they will be sent back to us so we can prepare a test press.
We will send you digital PDF proofs of all your artwork to review before we send it to print.
The test pressing will be shipped to you for you to listen and send us your approval.
Be sure to check every detail carefully, as this is your last chance to make any corrections before going to press. We will also send you a list of what to review and how to do it.
We’ll press your records once we have your artwork and proofs approved and all of your print materials in hand!
After production and inspection to our quality control standards, your order will be packaged and shipped to you!